

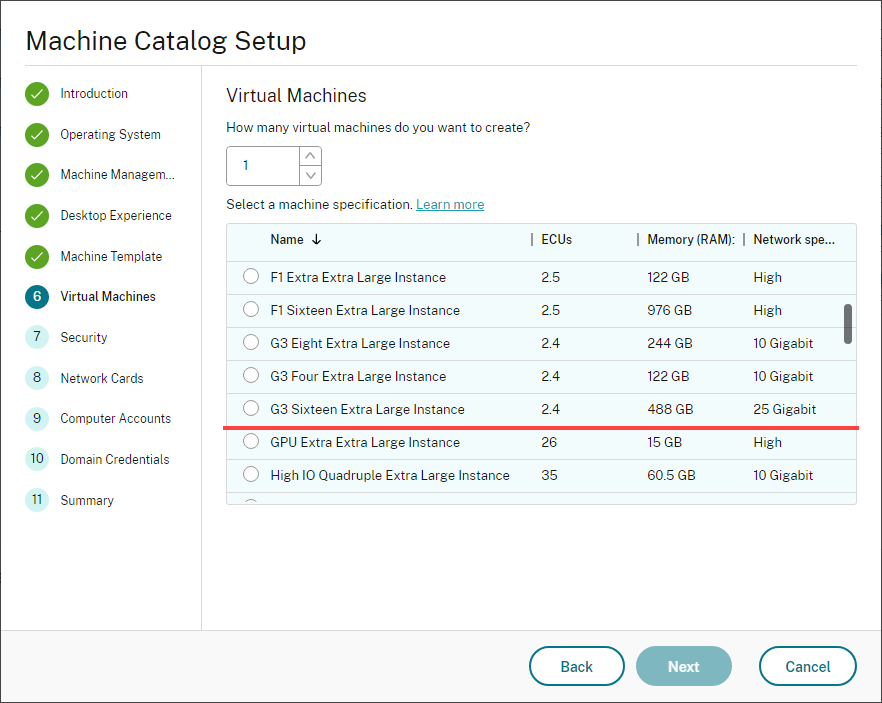
The instance type you’re looking for is not shown
AWS regularly adds new instance types. They can serve a new purpose, be of a new generation and/or be cheaper. And that’s great! But then you notice, this new instance type is missing in your Citrix Cloud Machine Catalog setup.
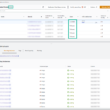
So, let’s create a Machine Catalog with the G3S Extra Large Instance from the Web Studio :
Here is how to add it!
Disclaimer: It’s obvious that you should not run actions from someone you don’t know and who doesn’t know your environment. So please, try in a safe environment first.
So, how to update AWS instance types in Citrix Cloud Machine Catalog setup when the instance type you’re looking for is not shown ?
First of all, make sure the instance type you are looking for is available in your AWS region.

Take the information related to the new instance you want to add:
- Name of the instance type
- Memory (RAM)
- ECUs (EC2 Compute Unit)
- Virtual Cores
- API Name
- Network Speed
In this example, I am going to add the G3S Extra Large instance type to the Machine Catalog setup in Citrix Cloud.
Here’s a little help to gather the info on the Instance Type:
On the Citrix Cloud Connectors. Locate the below file (take the latest path version):
C:\Program Files\Common Files\Citrix\HCLPlugins\Hypervisor\v#.##.#.#\AWS\AWSConfiguration\InstanceTypes.xml- Copy and rename the original file. InstanceTypes.xml ➡️ InstanceTypes.xml.OLD
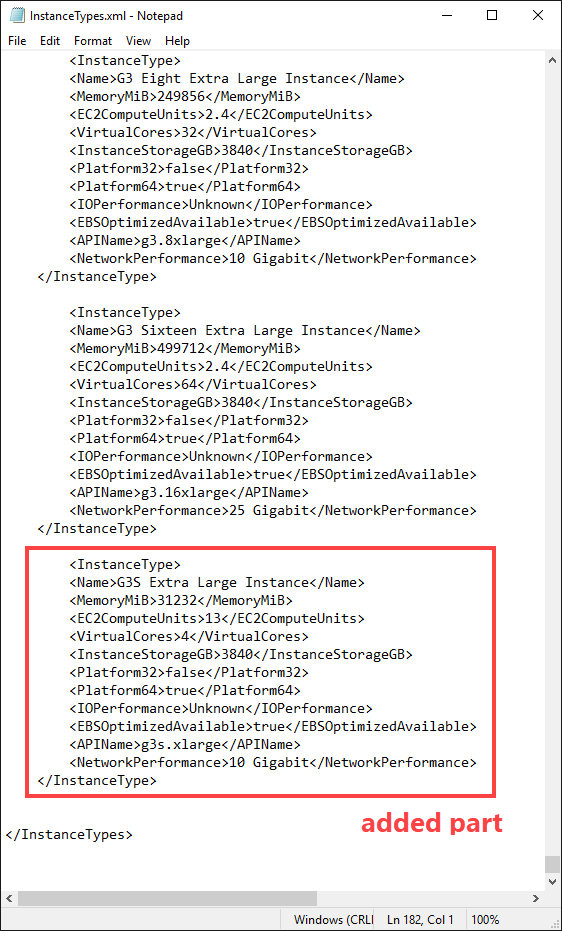
- With a Text Editor, edit the InstanceTypes.xml file
- As mentioned in this Citrix article for XenDesktop, for convenience, you can copy and paste one of the existing Instance Type and update its details.
  <InstanceType>
  <Name>G3S Extra Large Instance</Name>
  <MemoryMiB>31232</MemoryMiB>
  <EC2ComputeUnits>13</EC2ComputeUnits>
  <VirtualCores>4</VirtualCores>
  <InstanceStorageGB>3840</InstanceStorageGB>
  <Platform32>false</Platform32>
  <Platform64>true</Platform64>
  <IOPerformance>Unknown</IOPerformance>
  <EBSOptimizedAvailable>true</EBSOptimizedAvailable>
  <APIName>g3s.xlarge</APIName>
  <NetworkPerformance>10 Gigabit</NetworkPerformance>
</InstanceType>
My G3S Extra Large Instance type code with the updates
4. Save the freshly edited file on your Cloud Connectors
5. Wait 30 seconds and re-initiate the Machine Catalog Setup wizard

It’s unclear at the moment if the InstanceTypes.xml file will get overwritten during the next update of the Cloud Connectors. Maybe they will update the Instance Types with the latest ones. Maybe they will remove yours.
At least, now you know how to add it again if you need to create another Machine Catalog.
Update
You can now use the IAM policies and grant permission to ec2:DescribeInstanceTypes. As a result, there will be no need to tweak the InstanceTypes.xml file anymore. You will find an up-to-date list of instance types available in the target AWS region. See this documentation for further details.
Make sure you have a look at my post on all the links to blogs and KBs collection I regularly use.